 You may have created the most amazing pizza toppings combination — one that rivals your Sicilian grandmother’s recipe — but without a perfect crust, it will fall flat. The crust is the foundation of your pizza and it’s important to get just the right flavor and texture to complement whatever combination of toppings you desire.
Proofing your pizza dough, whether made from scratch or a pre-made dough ball, is a crucial part to be able to get the consistent results you want. During the proofing, or rising, process, the yeast in the dough generates gas. The resulting aeration is what creates the height you want in a crust so that when it bakes, it comes out crispy, airy and light. This step may seem minor, but skipping it (or doing it incorrectly) can lead to a dense, springy texture and unpleasant flavor.
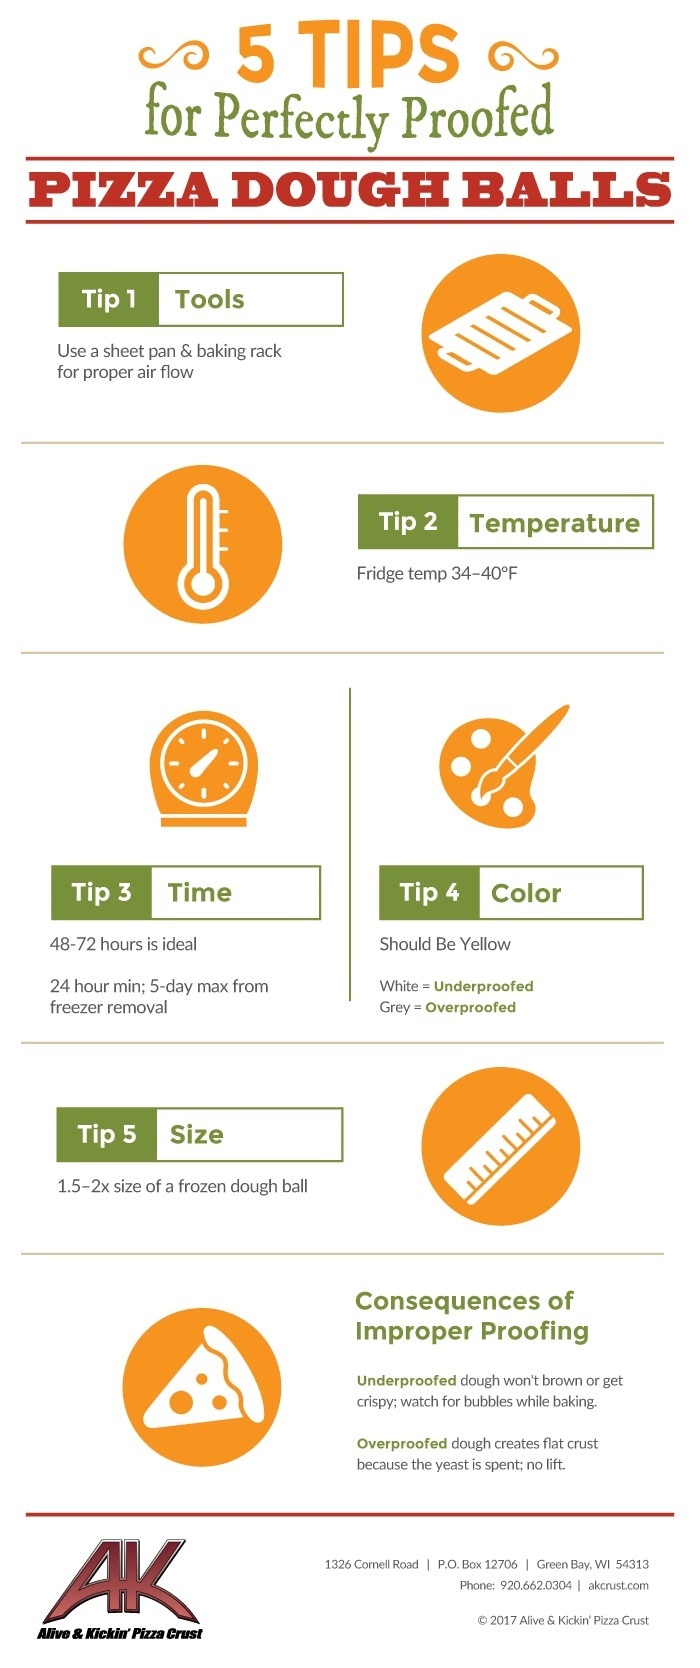
We’ve narrowed down the top five proofing tips and best practices for pizza dough balls from insiders in the pizza dough industry into a quick-reference infographic to help you achieve consistent results and to keep customers coming back time after time.

Infographic Transcript
Tip 1: Tools
When proofing dough, use sheet pan & baking rack. These work best because it helps to even out air flow with the help of sheet pans and speed rack.
Tip 2: Temperature
Ideal temperature range is 34-40˚F. Anything less than 34 is not really proofing, and anything over 40 is in violation of health department.
Tip 3: Time
Allow timing of 24 hours minimum, 48-72 hours is ideal, with a 5 day maximum. From the second you pull out of the freezer until the yeast is spent and it’s no longer working.
Tip 4: Color
When dough is properly proofed the color should be yellow, not grey or white. Underproofed its white, overproofed turns grey washing out yellowness.
Tip 5: Size
Proofed Size 1.5-2x the size of a frozen dough ball.
Consequences of improper proofing:
If dough is underproofed, it won’t brown properly, get crispy and will get bubbly in the oven. Pizza will need constant monitoring to be able to pop bubbles while cooking.
Yeast is living and the key to having your pizza proof and rise properly is keeping that organism living.
There are many more tips, tricks and best practices in our step-by-step guide, How to Achieve a Perfectly Proofed Pizza Dough. This easy reference guide can be printed off to share with others and will help refine your skills so you can provide customers with the most enjoyable experience possible. Get your copy today by clicking the link below!


