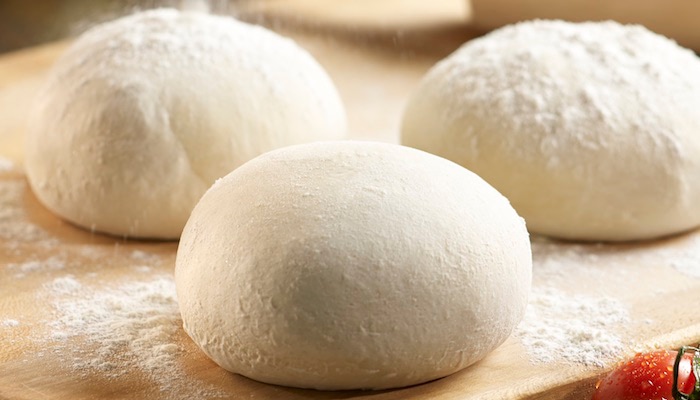
 Using pre-made dough balls is a valuable best practice for keeping your kitchen running efficiently and profitably. In this hands-on demonstration, Chef Luke from Alive & Kickin’ Pizza Crust walks you through the life cycle of a pre-made dough ball and provides tips for taking it from frozen to perfectly proofed.
[TRANSCRIPT] From Frozen to Perfectly Proofed: The Dough Ball Life Cycle
Understanding the dough ball life cycle and implementing a well-timed proofing process are critical to ensuring best quality and proper use in your restaurant. Let’s explore the steps necessary to take pre-made dough balls from frozen to perfectly proofed, and what you can expect at each stage.
Life Cycle Stage 1: Frozen
When you initially receive dough balls, each is individually quick frozen and topped with an ice cap to preserve freshness. They may also be oiled to a soft sheen, like the ones I’m using.
To start the proofing process of thawing frozen pizza dough, remove the dough balls from the freezer and place them on your tray or tote. Wrap them with film or nest your totes so they don’t dry out.
Life Cycle Stage 2: 24 Hours
One 24-hour period is the bare minimum for using a dough ball to make a pizza. After one day, you’ll note note some changes between the frozen and the thawed but as yet unproofed dough ball. While the white color remains nearly the same, the thawed dough ball is somewhat larger than the frozen dough ball and it’s firm. If you push into the thawed dough ball, your fingers will cause dents instead of the dough springing back from your touch. Why? There hasn’t been sufficient time for gluten formation in this young dough.
Along those same lines, if you would choose to bake the dough ball after a one-day thaw, your crust would have tiny bubbles running throughout. Plus, you’d have to spend a good amount of time docking the dough to make sure the crust stays flat and you get a nice edge on it.
Life Cycle Stage 3: 48 Hours
I consider two days of proofing perfect timing. The dough ball has about doubled in size from when it was frozen — which is ideal — and the color has started to turn a little bit more yellow. That means the dough is maturing a little. The dough ball is nice and fluffy, and it readily springs back when I press into it. When your fingerprints push back out, that means your dough is ready to go. It’s a completely different reaction than the one you got when you pressed into the dough ball at 24 hours, when it was cold and the gluten was still tight.
Life Cycle Stage 4: 72 Hours
At three days, a dough ball is still plenty usable even if a big bubble appears on it like the one I’m using. You simply pat the bubble down and make your pizza like normal. There is absolutely nothing to worry about in terms of performance or taste.
Life Cycle Stage 5: 96-120 Hours
By day four or day five, the dough ball has completely collapsed. It is over-proofed. You can easily see the specks of all the dead yeast on its surface, and it’s very dry. You don’t want to eat it — it doesn’t look good, nobody thinks it looks good. Not that you would, but if you’d try to use it, your customers will notice a difference.
Another sign of over-proofed dough is a very strong beer-fermented odor. Unlike the good “fresh bread” smell, the dough ball actually almost stinks. At that point, you can’t use it.
The 4-Step Recap
To capture proofing perfection:
- Let your frozen dough ball proof for a maximum of 72 hours
- Make sure the color has transitioned from bright white to slightly yellowed
- Guesstimate that the dough ball has about doubled in size from its frozen state
- Make your perfect pizza!
Learn more about dough proofing and prep, along with other frozen dough ball facts in the resource below!


